RINalyzer Tutorials
Tutorials for Cytoscape 3.x
Tutorials for Cytoscape 2.x
In the following, screenshots for each step appear when hovering the mouse over (image). If you cannot see the whole image, you can use the keyboard arrows to move to the right or to the bottom while holding the mouse over the image.
Create a RIN of a ligand and its neighbors
In this tutorial, it is assumed that you have the PDB structure file for a protein of your choice. Such a file can be downloaded from the Protein Data Bank. In this example, we will use the file for the PDB entry 1hiv, an HIV-1 protease, as downloaded by RINalyzer in Tutorial 1 (part 1).
- Launch Cytoscape
- Load the PDB structure file pdb1hiv_h.ent:
- Go to Apps → RINalyzer → Open Structure from File (image
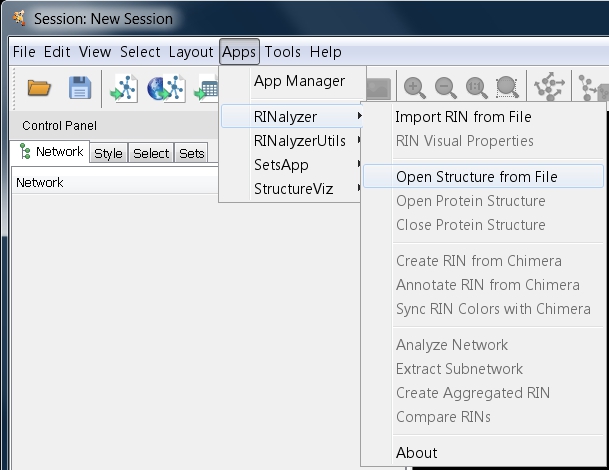 ).
).
- In the file browser, go to the CytoscapeConfiguration/pdbs directory that contains the PDB files downloaded by RINalyzer. Select the file pdb1hiv_h.ent and click on the Open button (image
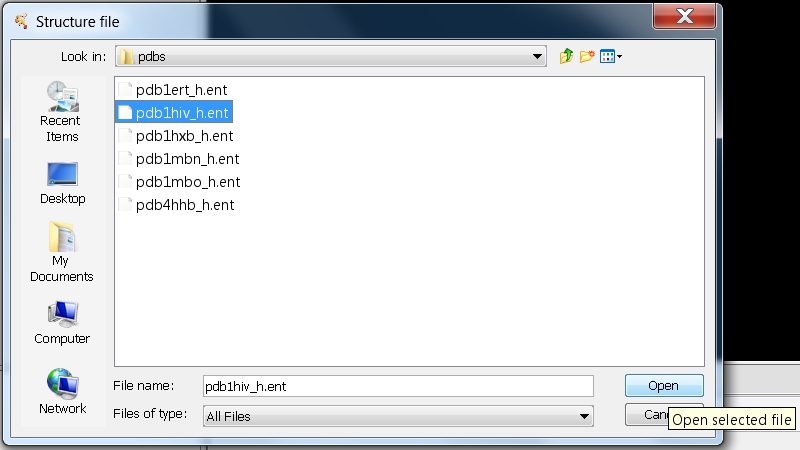 ).
).
- If UCSF Chimera is not installed in the default location and it is the first time to launch it, go to Apps → structureViz → Settings... (image
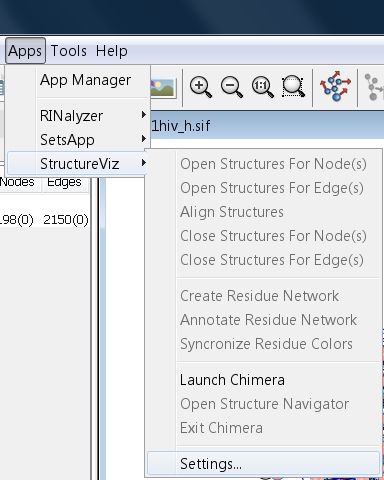 ) and enter the path to the UCSF Chimera executable at the bottom of the dialog (image
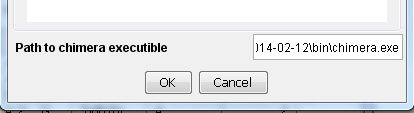 ). Click OK to save the settings.
- It may take a while until UCSF Chimera is launched and the 3D structure is opened. Your screen should look as in this image
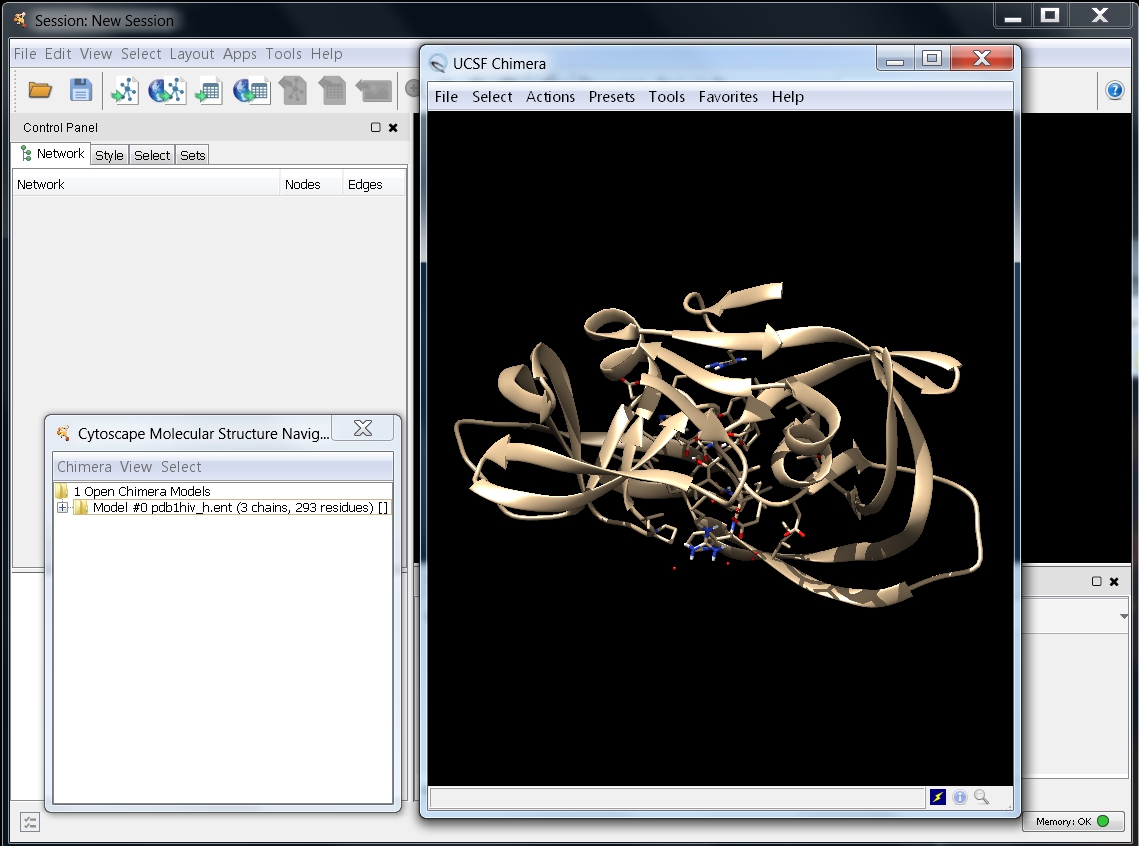 .
.
- Select the ligand:
- In the Molecular Structure Navigator dialog, select the model Model #0 pdb1hiv_h.ent (image
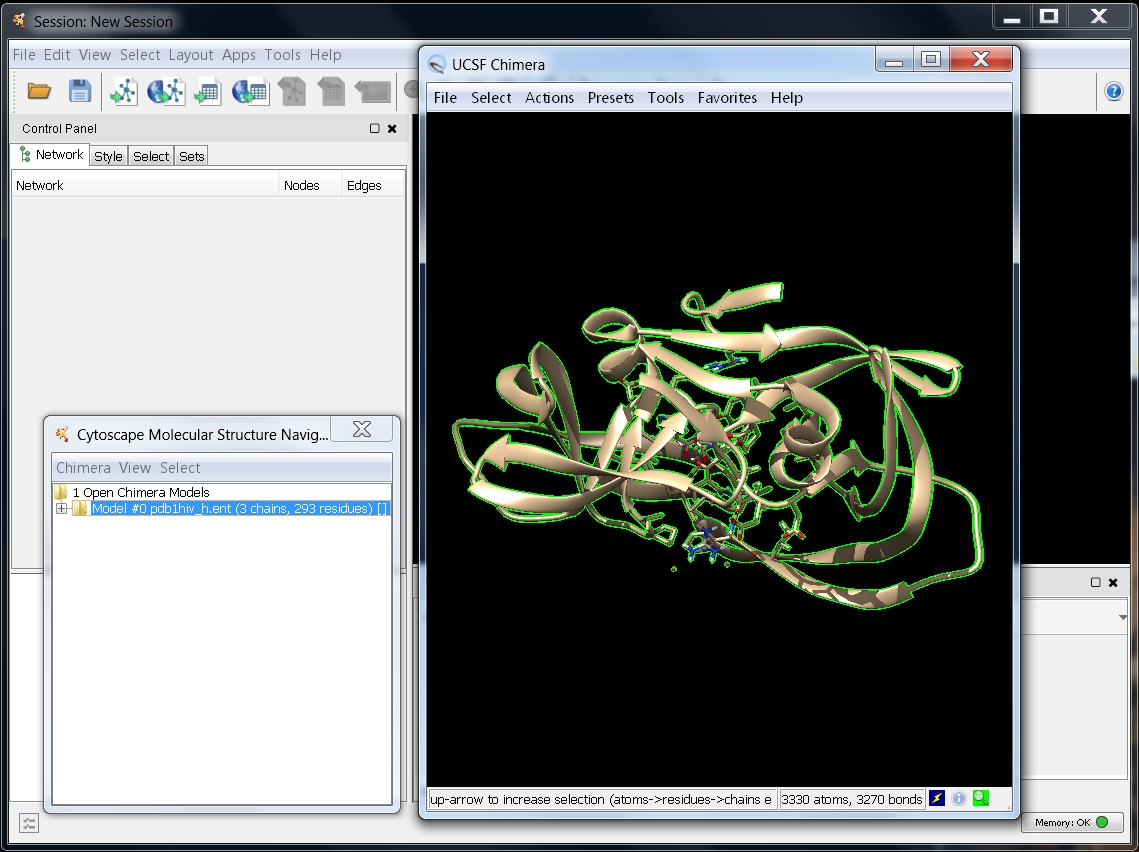 ).
).
- Right-click the model to bring up the context menu (image
 ) and go to Select → Ligand.
- All residues listed as HETATM in the PDB structure will get selected in the model tree (image
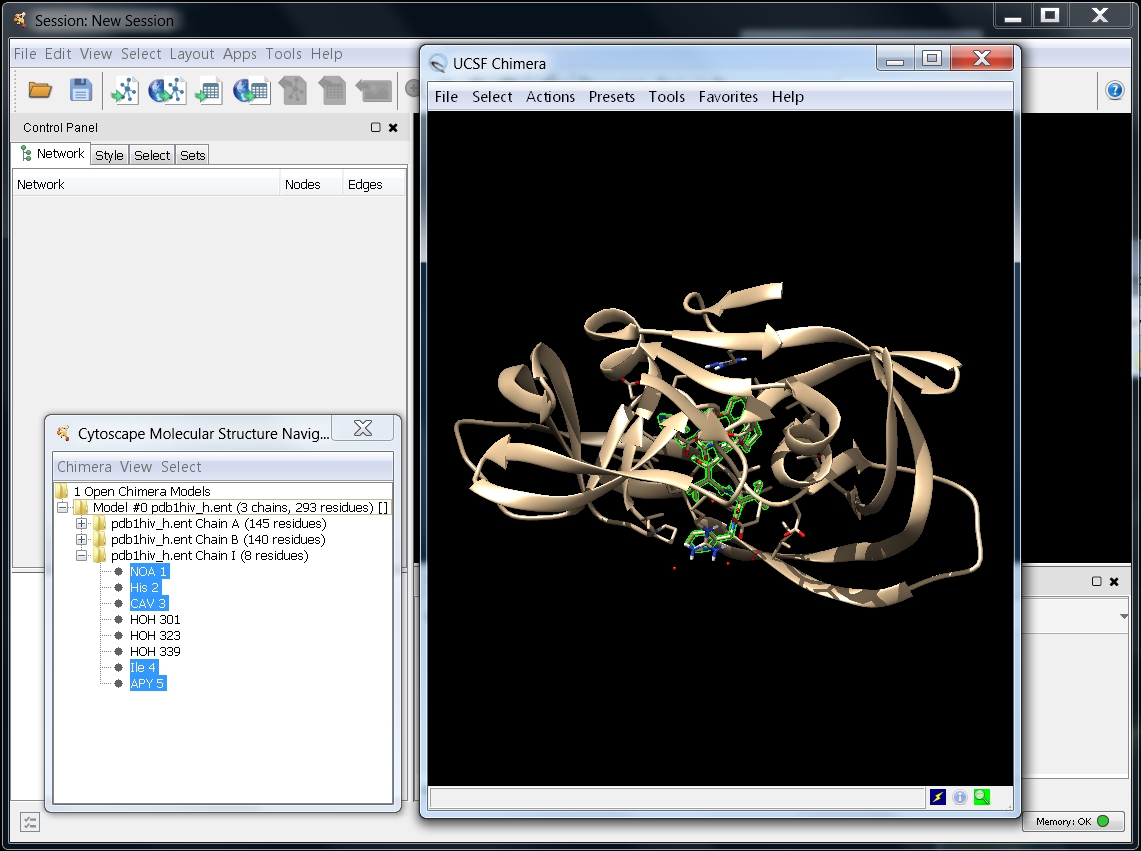 ).
).
- Create the RIN:
- Still in the Molecular Structure Navigator dialog, go to Chimera → Residue network generation (image
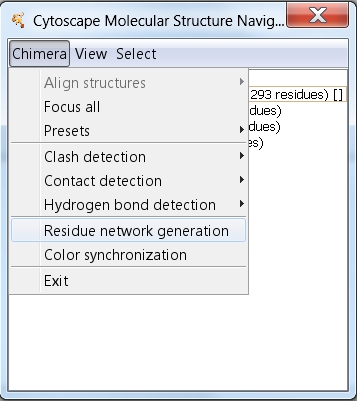 ).
).
- In the Residue Interaction Network Generation dialog, adapt the name for the new network to RIN pdb1hiv_h.ent ligand (image
 ).
).
- In the Include interactions drop-down menu, select Between selection and all other atoms to retrieve interactions between the ligands and all other residues in the structure (image
 ).
).
- To include or remove some types of edges, check the appropriate box. When all settings are as desired, click OK (image
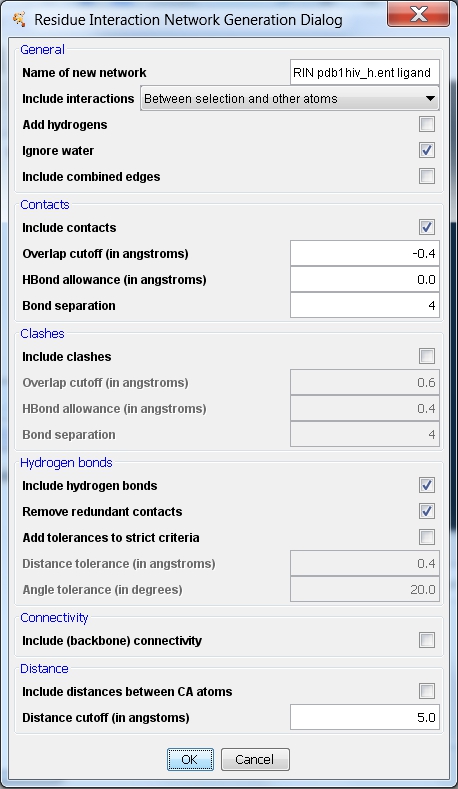 ) and wait a few minutes to see the network.
- Your screen should look as in this image
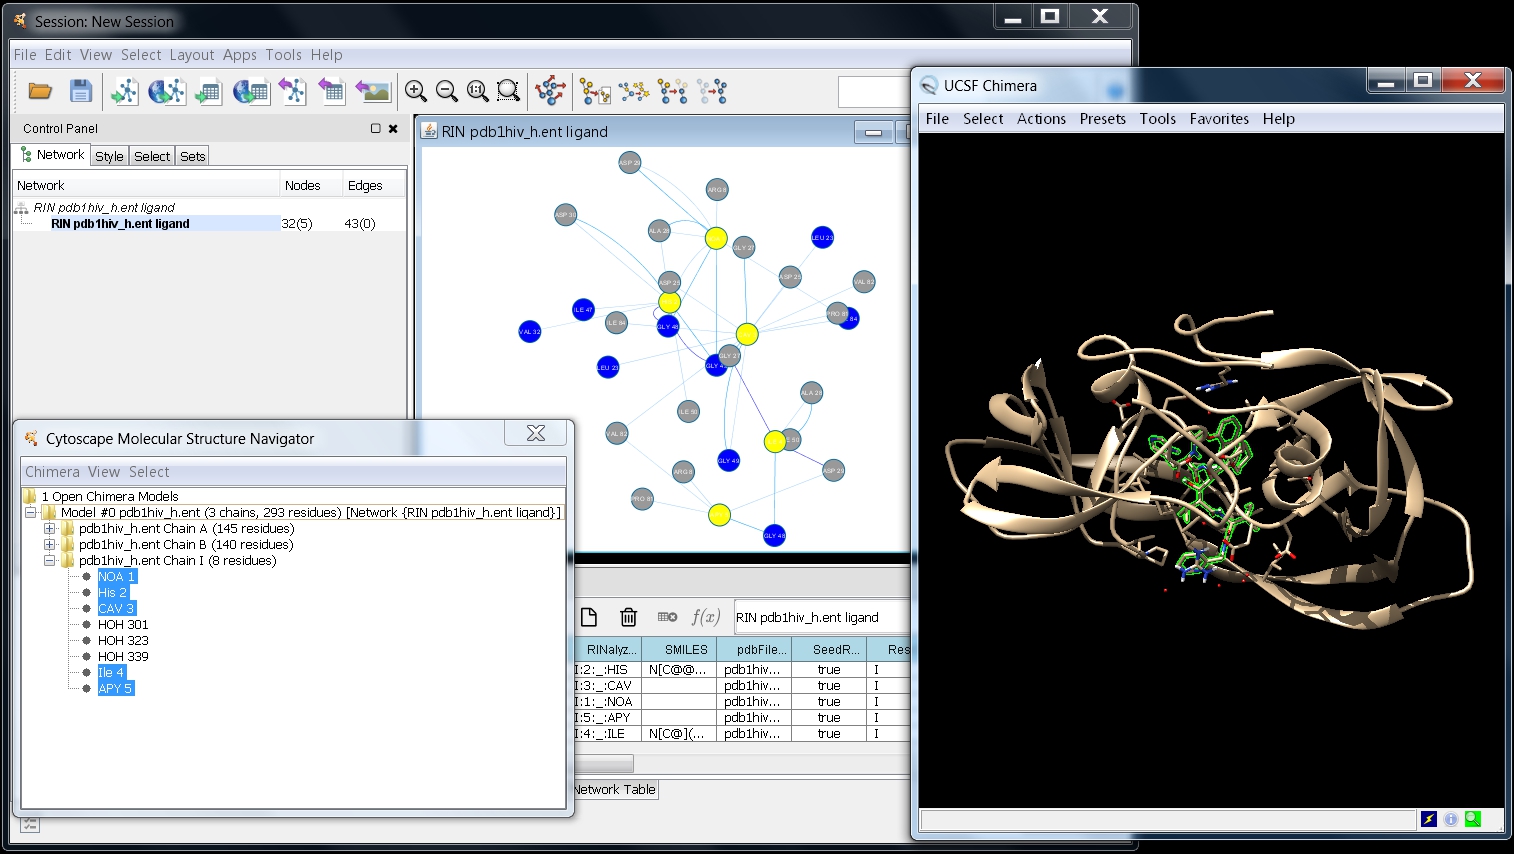 .
.